Defang: Your AI DevOps Agent
From Vibe-Coding to Production… Without a DevOps Team
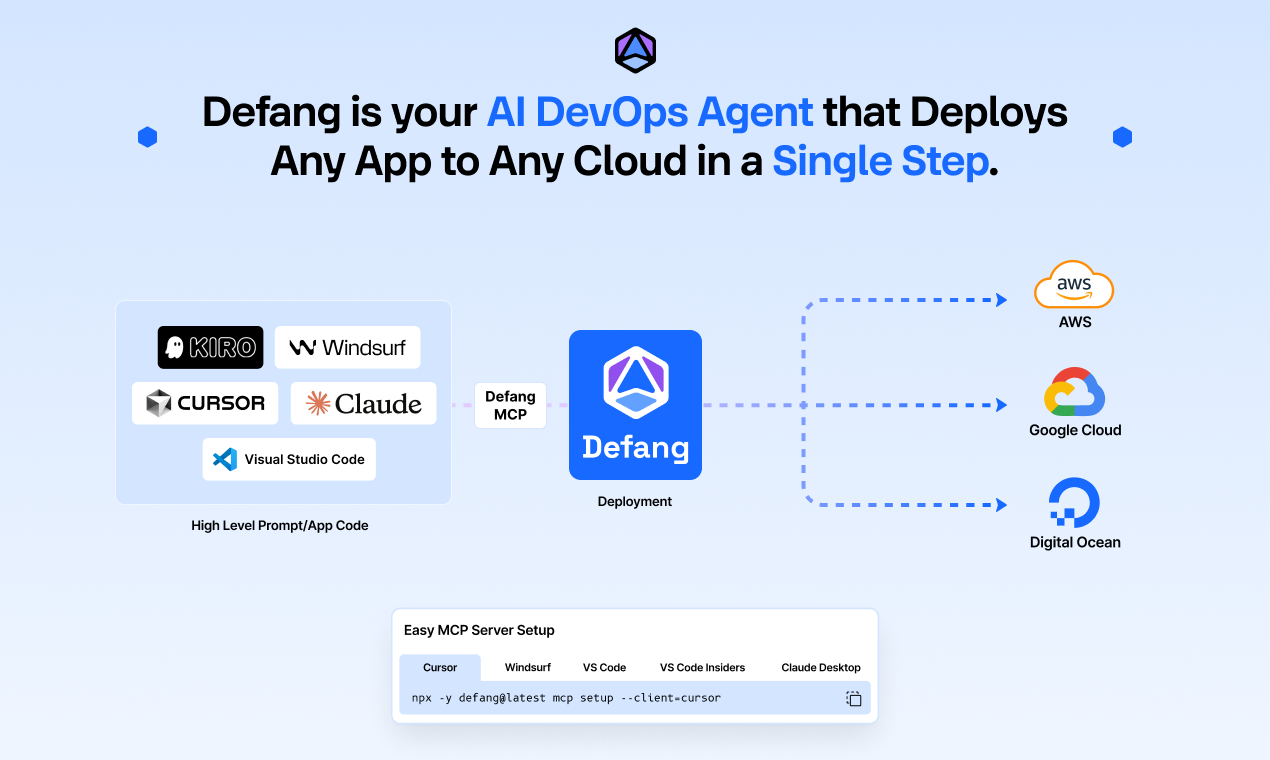
Building apps has never been easier. Tools like Cursor, Windsurf, Lovable, V0, and Bolt have ushered in a new era of coding called vibe coding, rapid, AI-assisted app development where developers can go from idea to prototype in hours, bringing ideas to life faster than ever before.
And with the recently released AWS Kiro, we have now entered a new phase of AI-assisted development called "spec-driven development" where the AI breaks down the app development task even further. You can think of a "PM agent" that goes from prompt to a requirements document, and then an "Architect agent" that goes from the requirements document to a design document, which is then used by "Dev", "Test" and "Docs" agents to generate app code, tests, and documentation respectively. This approach is much more aligned with enterprise use cases and produces higher quality output.
The Hard Part Isn’t Building. It’s Shipping.
However, cloud app deployment remains a major challenge! As Andrej Karpathy shared during his recent YC talk:
"I vibe-coded the app in four hours… and spent the rest of the week deploying it."
While AI-powered tools make building apps a breeze, deploying them to the cloud is still frustratingly complex. Kubernetes, Terraform, IAM policies, load balancers, DNS, CI/CD all add layers of difficulty. This complexity continues to be a significant bottleneck that AI tools have yet to fully address, making deployment a critical challenge for developers.
The bottleneck is no longer the code. It's the infrastructure.