Deploy a GPU-Powered Application to AWS
This tutorial will show you how to create and deploy a GPU-powered application on AWS using Defang.
We will walk you through the whole deployment process based on the Mistral & vLLM sample.
Prerequisites
AWS Account with GPU Access
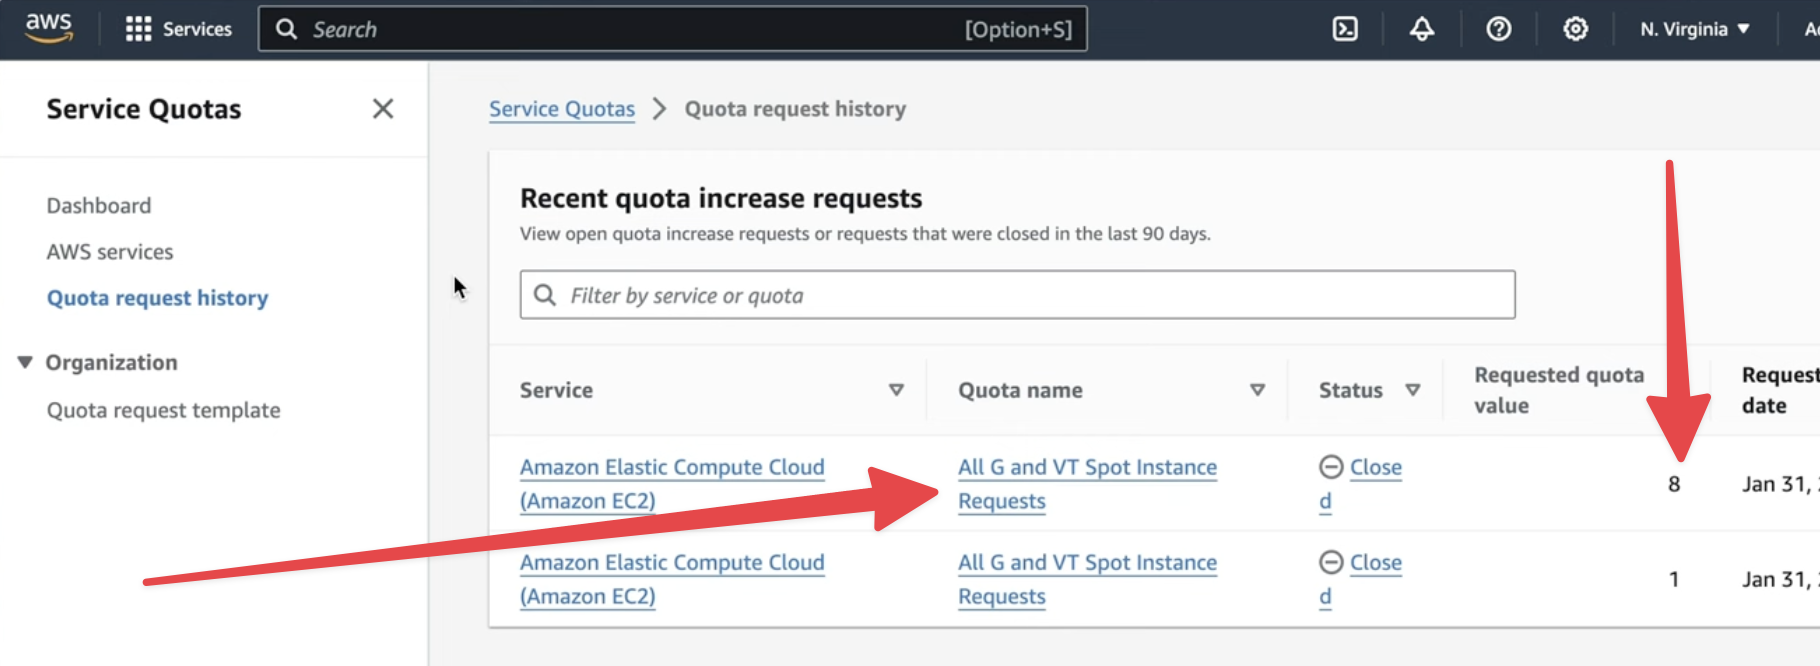
For any of this to work, you'll need to have access to GPU instances in your AWS account. To do that you'll need to go to the "Service Quotas" console in your AWS account. From there you can request access to spot GPU instances. You'll need to request 8 or more because the value is per vCPU and the smallest GPU instance has 8 vCPUs. The instance types you're requesting are "All G and VT spot instances".
This process can take a few days for AWS to approve.
HuggingFace Token
This sample requires a HuggingFace token to download the model. You can get a token by signing up at HuggingFace and then going to your settings to get your token.
Step 1 - Clone the sample project
You'll need to clone the Mistral & vLLM sample to go through this tutorial.
Step 2 - Check your Defang BYOC settings
- Make sure you install the latest version of the Defang CLI
- Then, make sure you have properly authenticated your AWS account. The Defang CLI makes use of AWS environment variables like
AWS_PROFILE,AWS_REGION,AWS_ACCESS_KEY_ID, andAWS_SECRET_ACCESS_KEY, so make sure the correct values are set for those.
If you have the AWS CLI installed (which is not required in order to use the Defang CLI), you can verify that you've authenticated to AWS by running aws sts get-caller-identity and see your account ID.
Step 3 - Prepare your Environment
- Log into your Defang account
defang login
- Set the HuggingFace token using the
defang configcommand
defang config set --name HF_TOKEN
Configuration stores your sensitive information such as API keys, passwords, and other credentials for you.
Step 4 - Explore the Compose File
The compose.yml file is where you define your services and their configurations.
The Mistral Service
In there you'll see the configuration we're using to deploy the Mistral model. We've highlighted some of the key aspects.
services:
    mistral:
        image: ghcr.io/mistralai/mistral-src/vllm:latest
        ports:
            - mode: host
              target: 8000
        command: ["--host","0.0.0.0","--model","TheBloke/Mistral-7B-Instruct-v0.2-AWQ","--quantization","awq","--dtype","auto","--tensor-parallel-size","1","--gpu-memory-utilization",".95","--max-model-len","8000"]
        deploy:
            resources:
                reservations:
                    cpus: '2.0'
                    memory: 8192M
                    devices:
                        - capabilities: ["gpu"]
            healthcheck:
                test: ["CMD","curl","http://localhost:8000/v1/models"]
                interval: 5m
                timeout: 30s
                retries: 10
            environment:
              - HF_TOKEN
Let's break it down.
We start with the latest vLLM Docker image provided by Mistral AI.
mistral:
  image: ghcr.io/mistralai/mistral-src/vllm:latest
We specify that we require a GPU to run our application.
deploy:
  resources:
    reservations:
            cpus: '2.0'
      memory: 8192M
      devices:
        - capabilities: ["gpu"]
The Mistral model will be downloaded from HuggingFace. We need to have a HuggingFace Token to enable the installation, so we specify that we need to get the HF_TOKEN configuration value from Defang.
Specifying the HF_TOKEN in the environment section of the service in the compose.yml file tells Defang to fetch the value from the encrypted configuration store.
environment:
  - HF_TOKEN
The UI Service
In this sample we also provide a simple UI to interact with the endpoint created by vLLM. The UI service is a Next.js application that runs on port 3000.
You can see here how Defang's networking works. The mistral service is available at http://mistral:8000, exactly as it would be in a local docker-compose environment.
ui:
  restart: unless-stopped
  build:
    context: ui
    dockerfile: Dockerfile
  ports:
    - mode: ingress
      target: 3000
  deploy:
    resources:
      reservations:
        memory: 256M
  healthcheck:
    test: ["CMD", "wget", "--spider", "http://localhost:3000"]
    interval: 10s
    timeout: 2s
    retries: 10
    environment:
    - OPENAI_BASE_URL=http://mistral:8000/v1/
Step 5 - Deploy to Your Own AWS Account with Defang
Run the following command to deploy your service:
defang compose up --provider=aws