Deploying with the Defang MCP Server
This tutorial will show you how to deploy your services with the Defang MCP Server.
Prerequisites
Open your project with an IDE that has the Defang MCP Server installed.
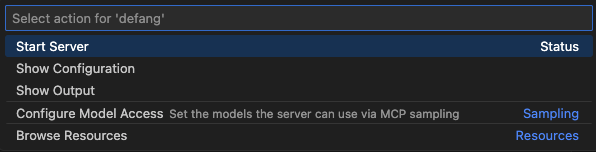
If the Defang MCP server doesn’t start automatically, try starting or restarting it from your IDE settings.
AWS
Step 1 - Collect your credentials
There are many ways to authenticate with your AWS account. We recommend using the aws login cli command to create a profile with short-lived credentials. Defang can then use this profile to deploy your services.
You can use the AWS CLI to verify that you've authenticated to AWS by running aws sts get-caller-identity. This will show you the currently authenticated account ID. (The AWS CLI is not required in order to use Defang with AWS)
Step 2 - Create a stack for deployment on AWS
When you deploy your project, you will need to create a new stack. This stack is an isolated deployment of your project in a specific cloud account and region. Defang will ask you what which region you want the stack to be deployed to, and also what you want the stack to be called. You will also be asked to provide your AWS credentials. If you have created a profile, you can mention it by name, and defang will use the credentials from that profile. Your credentials are never stored by Defang.
If you want to use AWS Access Keys, we recommend using aws configure to set them up in a profile, rather than passing them directly to Defang.
Step 3 - Deploy
Once the setup is complete, ask the AI assistant to deploy your project.
Step 4 - Inspect your deployment
You can check the status of your deployment by using the Defang Services tool or you can inspect the resources created in your AWS Dashboard.
GCP
Prerequisites
Step 1 - Collect your credentials
After signing in to your GCP account, select an existing project or create a new project. Make sure billing is enabled. Then, note down the project ID for the next step.
Step 2 - Setup Defang for GCP
In your chat window, ask the AI assistant to set up Defang for GCP deployment, providing the GCP project ID you noted in Step 1.
Step 3 - Deploy
Once the setup is complete, ask the AI assistant to deploy your project.
Step 4 - Inspect your deployment
You can check the status of your deployment by using the Defang Services tool or you can inspect the resources created in your GCP Dashboard.
Azure
Prerequisites
Step 1 - Collect your credentials
After signing in to your Azure account, select an existing subscription or create a new one. Make sure billing is enabled. Then, note down the subscription ID for the next step.
Step 2 - Setup Defang for Azure
In your chat window, ask the AI assistant to set up Defang for Azure deployment, providing the Azure subscription ID you noted in Step 1.
Step 3 - Deploy
Once the setup is complete, ask the AI assistant to deploy your project.
Step 4 - Inspect your deployment
You can check the status of your deployment by using the Defang Services tool or you can inspect the resources created in your Azure Portal.
Playground
Step 1 - Setting your provider
In your chat window, ask the AI assistant to set up Defang for Playground deployment.
Step 2 - Deploy
Once the setup is complete, ask the AI assistant to deploy your project.
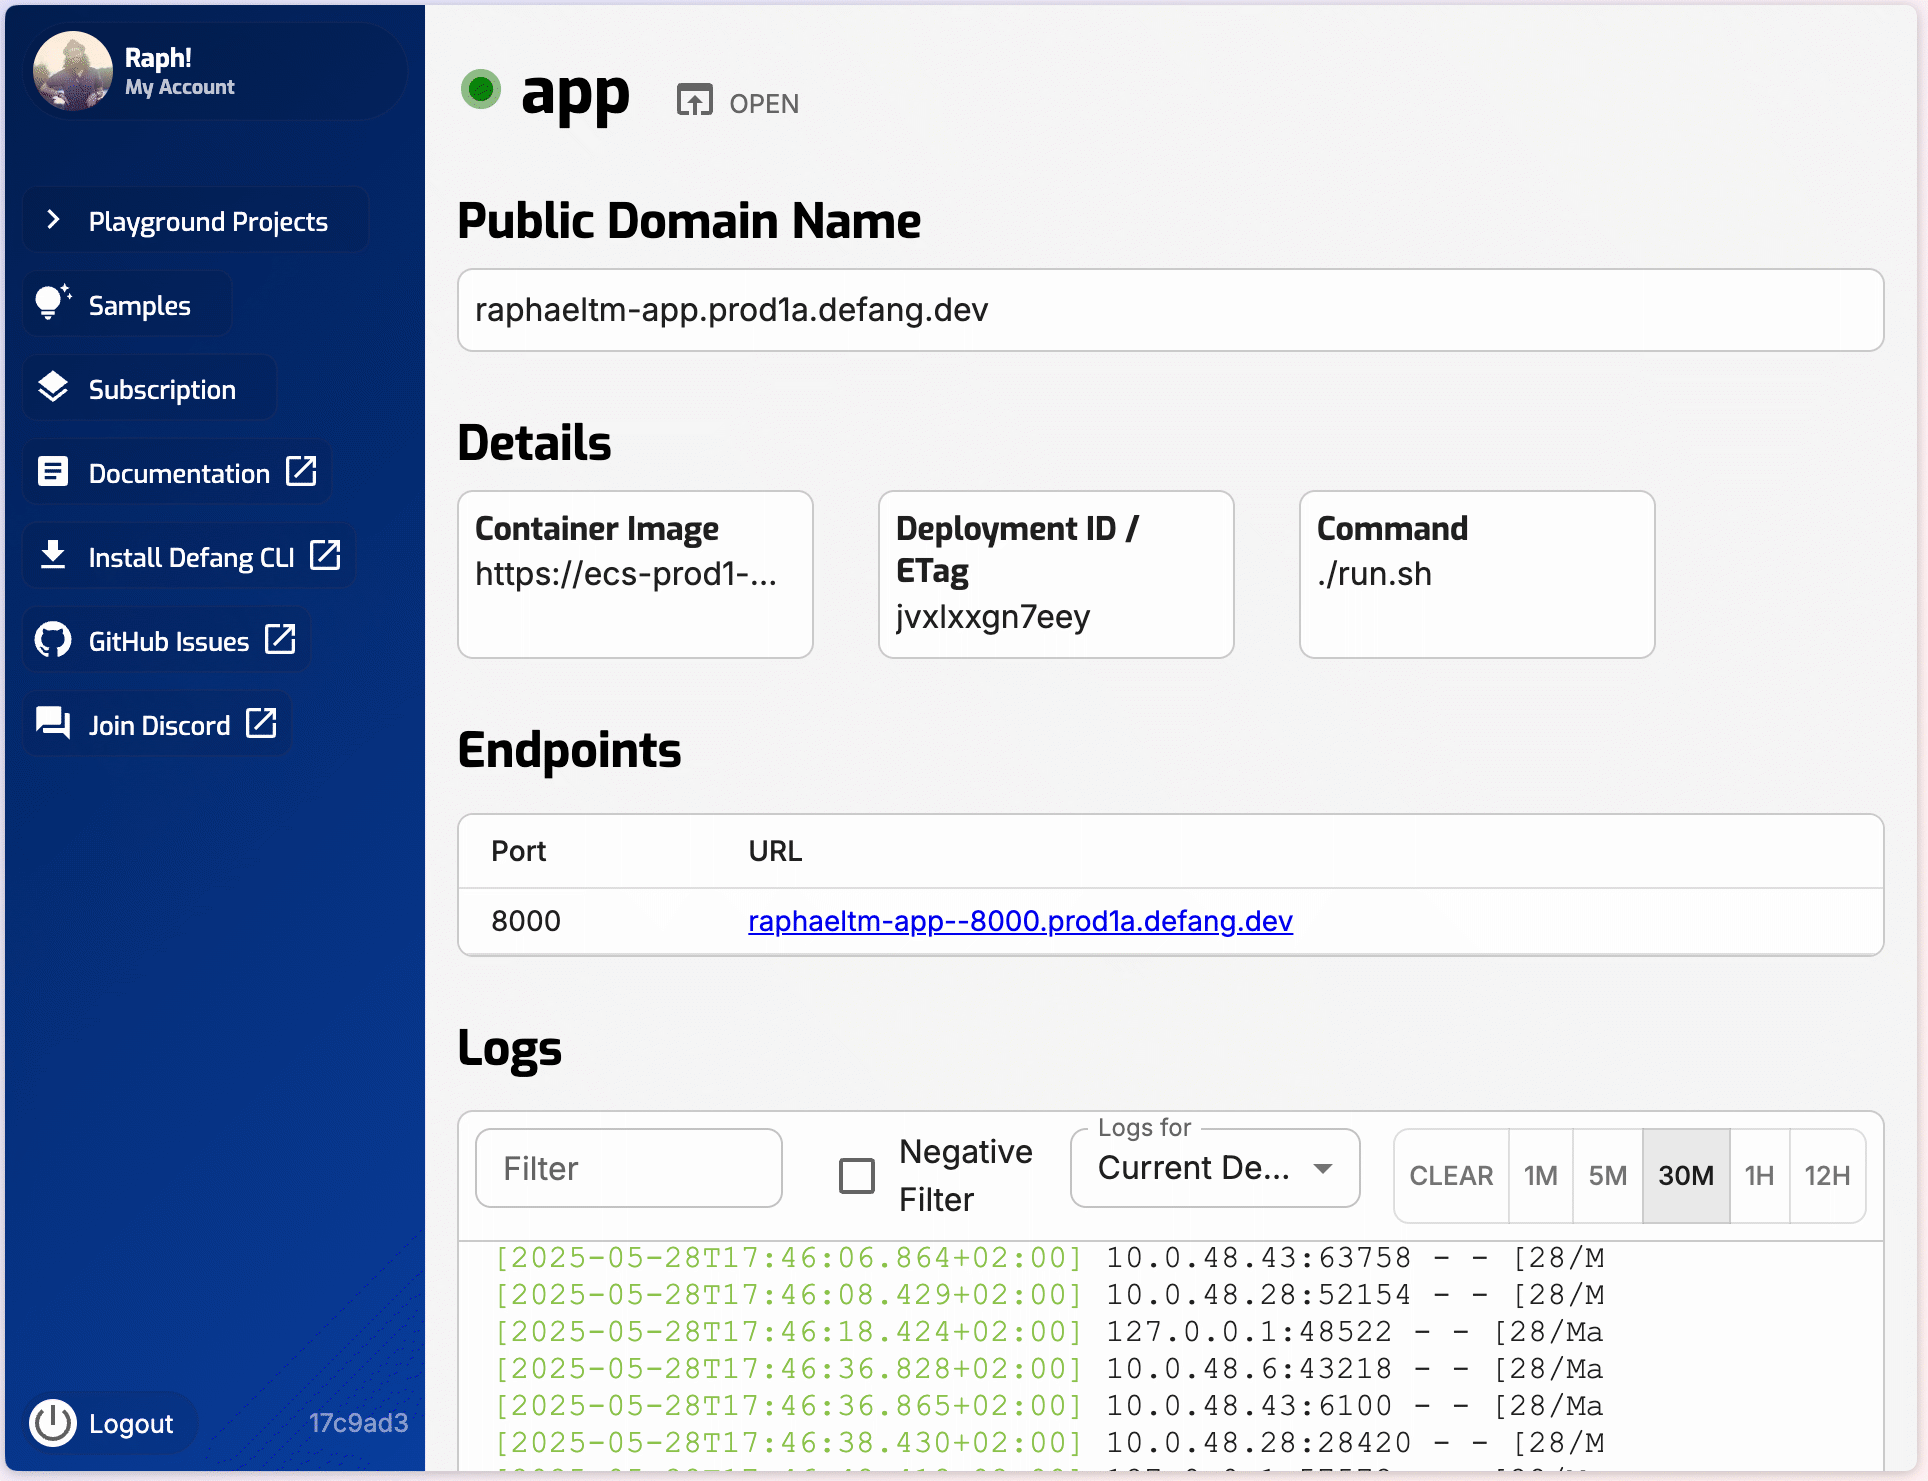
Step 3 - Inspect your deployment
You can check the status of your deployment by using the Defang Services tool or you can inspect the the project on the Defang portal.